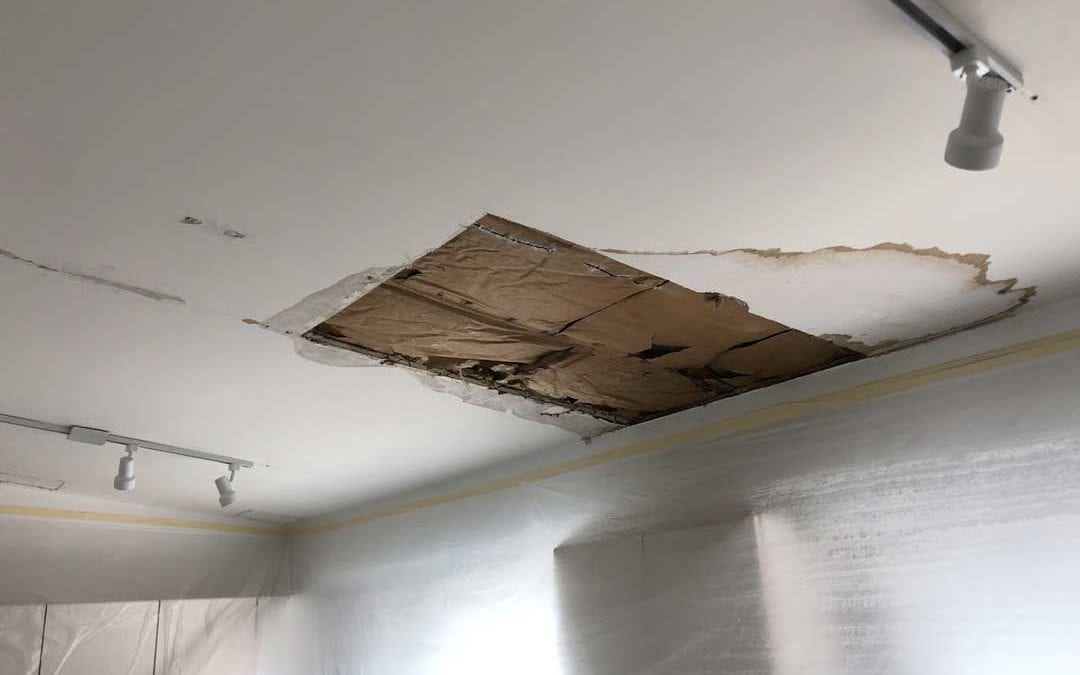
When it comes to repairing drywall ceilings, one of the key considerations is matching the textures to seamlessly blend in with the existing surface. This task may seem daunting at first, but with some expert advice, you can achieve professional-looking results. Here are some tips to help you match textures for your drywall ceiling repairs.
The first step in matching textures for drywall ceiling repairs is to identify the current texture of your ceiling. There are several common textures used in drywall ceilings, such as popcorn, knockdown, orange peel, and smooth finish. Take a close look at your ceiling to determine which texture you have. This will guide you in selecting the right materials and techniques to match the texture effectively.
Once you have identified the texture of your ceiling, the next step is to gather the necessary tools and materials for the repair. Depending on the texture, you may need items such as a drywall knife, joint compound, texture spray, texture brushes, and sandpaper. It's essential to use high-quality materials to ensure a seamless finish that matches the existing texture of the ceiling.
Before applying any texture to the repaired area, it's crucial to prepare the surface properly. Start by cleaning the area and removing any loose debris or old texture. Use a drywall knife to smooth out the surface and make it as even as possible. This will help the new texture adhere properly to the ceiling and create a seamless match.
Next, apply a thin layer of joint compound to the repaired area using a drywall knife. Feather the edges of the compound to blend it with the surrounding surface. Allow the compound to dry completely before moving on to the next step. This step is crucial for creating a smooth and even base for the new texture.
Now it's time to match the texture to the existing ceiling. Depending on the texture, you can use different techniques to achieve a seamless blend. For example, if you have a popcorn texture, you can use a texture spray gun to apply the texture evenly across the repaired area. For knockdown or orange peel textures, you can use a texture brush or roller to replicate the pattern.
When applying the new texture, start by practicing on a small test area to ensure you achieve the desired match. Make any necessary adjustments before applying the texture to the repaired area. Take your time and work in small sections to ensure an even and consistent finish.
After applying the new texture, allow it to dry completely before painting the repaired area. Once the texture is dry, you can paint over it to further blend it with the surrounding ceiling. Use the same paint color and finish as the rest of the ceiling to create a seamless match.
Matching textures for drywall ceiling repairs may require some trial and error, but with patience and practice, you can achieve professional-looking results. By following these expert tips and techniques, you can seamlessly blend the repaired area with the existing ceiling texture. Remember to use high-quality materials and take your time to ensure a flawless finish. With the right approach, you can restore your drywall ceiling to its original condition and enhance the overall appearance of your space.